How Do I Setup My Shade/Motor?
This article will walk you through pairing your shade with a remote and setting limits for the first time. Follow the video or the written instructions below to get your shade up and running. If you have already attempted to setup your motorized shade and are having trouble, follow the instructions to factory reset your shade below first.
How do I factory reset my motorized shade and start over?

For instructions and more information, see How to Factory Reset a Motor.
How do I set up my motorized shade for the first time?
1. Pair your motorized shade with your remote
Select a channel on you remote.


Note: Consult the user manual for your controller for more information on selecting channels.
Hold the P1 button on the motor until it jogs back and forth once.
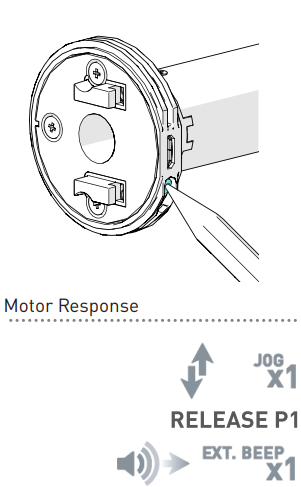
Note: For help finding the P1 button on your motor, see Motor (P1) Button Locations & Functions
Hold the STOP button on your remote until your shade jogs twice.
Motor is now in step mode and ready for setting limits2. Check the motor direction
To check the motor direction, press UP or DOWN on controller.
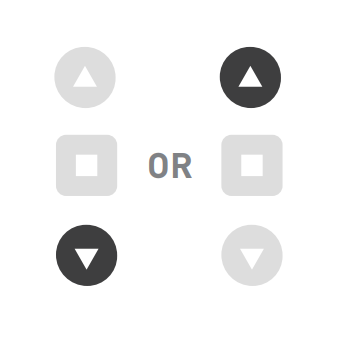
Single Tap = Step (shade will inch and then stop)
Long Press = Continuous Travel (shade will continue moving until STOP is pressed)

Warning: Damage to shade may occur when operating motor prior to setting limits. Attention should be given.
If the direction is correct, then continue by setting limits. If not, reverse the direction by holding both UP and
DOWN, until the shade jogs once.
Note: Reversing the motor direction using the remote is only possible during initial set-up (before limits have been set for the first time).
3. Set the upper limit
Important: Upper limit must be set first.
Move the shade UP or DOWN to adjust the shade to your desired upper limit.
Hold UP and STOP until the shade jogs twice. The upper limit is now saved.
4. Set the lower limit
Move the shade UP or DOWN to adjust the shade to your desired lower limit.
Hold DOWN and STOP until the shade jogs twice. The upper limit is now saved.
5. Lock your remote (Optional - Recommended)
For more information, see How to Lock and Unlock Your Remote